-
Step-by-Step Instructions for Fixing a Leaking Toilet
Leak DetectionApril 1, 2014admin0 commentPlumbing problems never seem to go away! Your toilet flush might be working just fine, but it doesn’t know when to quit. Perhaps it is leaking constantly into the bowl or starting up suddenly after some time you have flushed.
Either way, it’s a lot of water wastage, increasing your utility bills.
Fortunately, it isn’t too difficult or expensive to fix a leaking toilet. All it takes is a bit of knowledge how it works.
Discussed here are step-by-step instructions for repairing a leaking toilet.
 Inspect the Float and Inlet Valve
 First, it is important to diagnose the problem that is causing the toilet to leak. For this, look inside the flush tank to see if the water level has risen above the overflow tube. If so, the problem might be with the inlet valve on the ballcock or the float.
The function of the float is to rise as the water level rises during flushing, and sending signals to the inlet valve when to stop the flow. If there is any hindrance in this mechanism, the water will keep rising until it spills over the tube into the bowl.
To check whether the inlet valve is functioning properly, flush the toilet once and as the water level rises, lift the rod that holds the float in place until the water flow stops. If the water stops, the inlet valve is okay and the problem might be caused by the float.
Tweak the Float
You will find a screw at the top of ballcock that allows adjusting level of the float. Make necessary adjustments to minimize the level to which water rises in the tank. In spite of that if water runs into the overflow tube, the float is to be blamed. Check whether the float is damaged and needs replacing.
Turn off Water Supply to the Toilet
If you find the inlet valve functioning properly and yet the water doesn’t stop, there must be some problem with the ballcock. You can either replace the damaged ballcock or replace the entire assembly to ensure smooth operation for years.
Turn off water supply to the toilet at shutoff valve and then flush it and hold down the handle until most water is removed from the tank.
To remove excess water at the bottom of the tank, use a sponge.
Replace the Assembly
To replace the complete assembly, first remove the supply line connecting to the bottom of ballcock at the base of the tank. You can use slip-joint pliers for removing the nuts that hold the ballcock in place.
Now, push it up a little from the bottom and take out the entire assembly. Set the new assembly in its place and secure it with new nuts at the bottom of the tank.
Install the supply line and clip the refill tube inside the tank. Turn on water supply.
Test the Flapper
If the water isn’t rising above overflow tube, but still it is leaking into the bowl, there might be a leak around the flapper.
To test it, turn off the water supply, and check whether water level drops or not.
If it drops dramatically after 15 minutes or so, the problem might be caused by an over-tightened flapper chain that prevents the flapper from dropping into the seat.
Another problem may be leak in the flapper.
Replace the Flapper
To replace the broken flapper, drain water out of the tank completely. Next, wipe the flapper seat with a clean cotton cloth, ensuring it is free of debris.
Check for splits or cracks. Make sure it is not broken and that it fits tightly into the seat.
If it is damaged, pull it out gently and replace it with a new. Simply, pop in an appropriate flapper at the base of overflow tube, onto the hinges.
Call Len 0408 880 003

Quick Contact
Blog
Quick Links
Home About Us Services Blog Contact UsOur Services
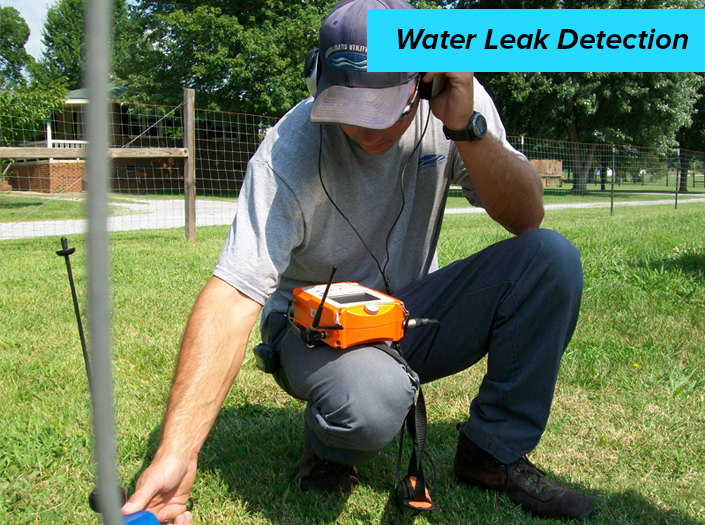
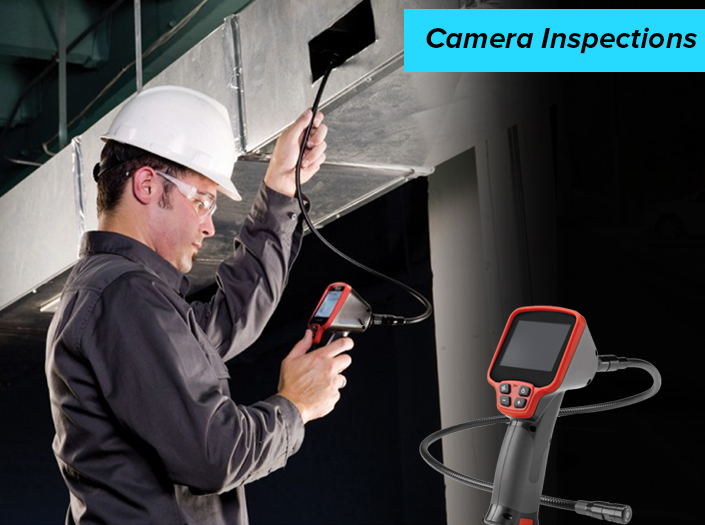
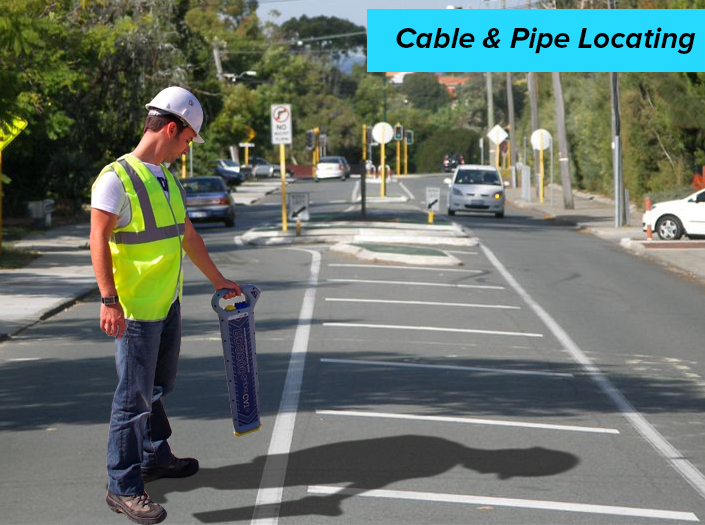
Water Leak Detection Cable & Pipe Locating Camera InspectionsContact Details
 Call Len 0408 880 003
Get Social
© 2013, Leaks R Us, All Rights Reserved. Design & Develop by eTraffic Web Design
Leave your comment here